Setup Redhat7 NFS & NIS
Setup NFS Server
1. 安装NFS软件
1 | # yum install -y nfs-utils |
2. 共享目录 共享主机(权限)
1 | # mkdir -p /share/common |
3. 共享主机生效 查看共享主机
1 | # exportfs -r |
4. 防火墙放行服务
1 | # firewall-cmd --permanent --zone=pubic --add-service=rpc-bind |
5. 开启nfs-server服务
1 | # systemctl enble nfs-server.service |
6. 查看NFS共享信息
1 | # showmount -e |
Setup Client AutoFS (自动挂载NFS共享文件夹)
1. 安装autofs
1 | # yum install -y autofs |
2. 配置autofs
1 | # cat /etc/auto.master.d/nfs.autofs |
- NFS配置文件可以是/etc/auto.master,也可以新建/etc/auto.master.d/*.autofs
- /- 表示共享文件采用绝对路径
- 共享文件夹map由auto.master指定也可以用相对路径,例如:
1
2
3
4# cat /etc/auto.master.d/autofs.map
/mnt/common -fstype=nfs,rw,soft,intr nfssvr100:/share/common
/mnt/proj -fstype=nfs,rw,soft,intr nfssvr100:/share/proj
/mnt/docs -fstype=nfs,rw,soft,intr nfssvr100:/share/docs
1 | # cat /etc/auto.master.d/nfs.autofs |
3. 查看NFS共享信息
1 | # showmount -e nfssvr100 |
4. 启动autofs服务
1 | # systemctl enable autofs |
注意:完成上述自动挂载步骤后,可能在/mnt目录下看不到挂载成功,但是只要cd /mnt/common就可以看到了,即未被访问前挂载目录是隐藏的。
5. 查看挂载文件夹状态
1 | # df -hT |
Setup NIS Server
1. 安装NIS软件
1 | # yum install -y yp-tools ypserv rpcbind xinetd ypxfrd |
2. 配置/etc/hosts
1 | # cat /etc/hosts |
3. 配置/etc/sysconfig/network
1 | # cat /etc/sysconfig/network |
4. 配置/etc/ypserv.conf
1 | # cat /etc/ypserv.conf |
5. 建立NIS用户
1 | # useradd -d /home/nisusr/foo -m -s /bin/tcsh foo |
6. 建立NIS数据库
1 | # /usr/lib64/yp/ypinit -m |
6. 开启NIS相关服务
1 | # systemctl enable ypserv yppasswdd ypbind rpcbind xinetd ypxfrd |
Setup NIS Client
1. 安装NIS软件
1 | yum install yp-tools ypbind rpcbind |
2. 配置/etc/hosts
1 | # cat /etc/hosts |
3. 配置/etc/sysconfig/network
1 | # cat /etc/sysconfig/network |
4. 配置/etc/yp.conf
1 | # cat /etc/yp.conf |
5. 配置/etc/nsswitch.conf
1 | # cat /etc/nsswitch.conf |
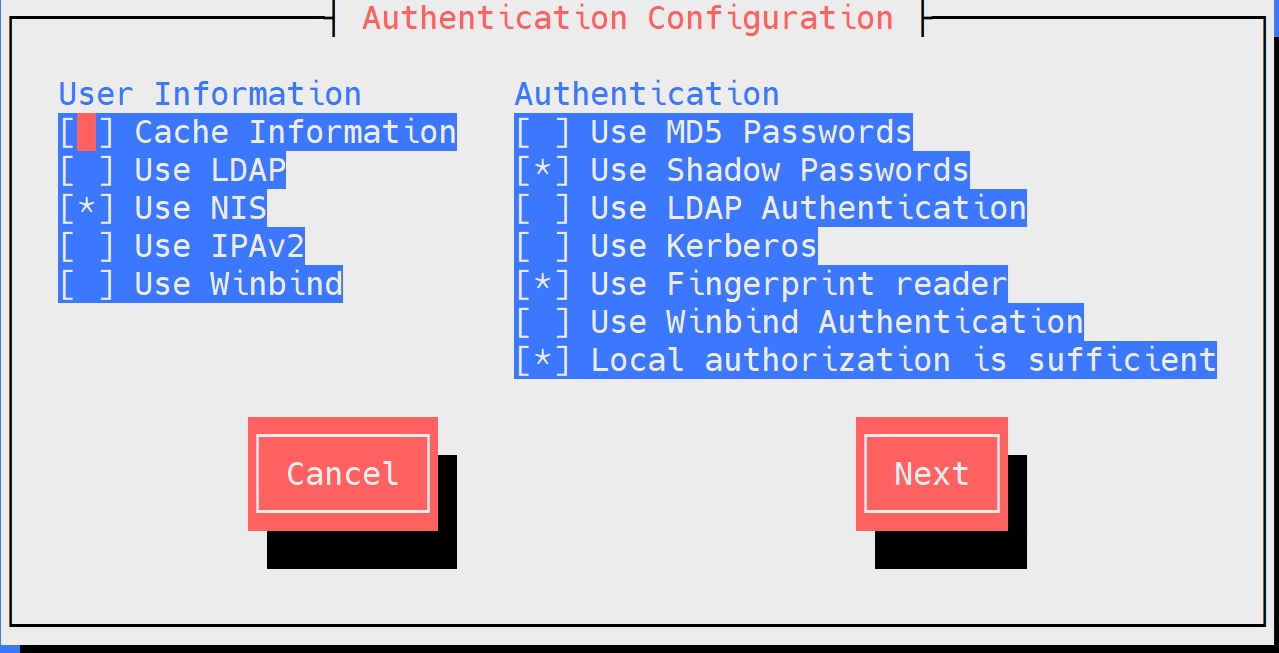
6. 配置authconfig
7. 开启NIS相关服务
1 | # systemctl enable ypbind rpcbind |
8. 检验NIS客户端
1 | # ypwhich |